03 August 2008

Tutorials 16

Here is a list of popular tutorials on Renaissance Culinaire. Here you can learn step-by-step instructions on a variety of foodie related things. This page will be updated as more tutorials are added.


Learn How TO:

  • Reverse Macro w/ A Digital Camera

  • Procedure For Tuile Stencil Cookies

  • Make A Simple Proofbox for Home Use

  • Use Greasemonkey Scripts for Culinary

  • Make Shortbread Tarts

  • Shape Croissants

  • Make Chocolate Croissants

  • Make Great Pate a Choux

  • Be A Successful Baker

  • Find The Sex of a Dungenous Crab

  • Maintian Your Rolling Pin

  • Sheet Croissant Dough

  • Eliminate "Black Holes" in Food Photography Pics

  • Make your own Praline Paste 

  • Beat Cooking Anxiety!

  • Beat hunger in America ~ Find a Food Pantry in your area!

  • Women: Learn how you can be awarded a photography scholarship of your dreams!

  • How to find Edible Mushrooms in Oregon

  • Get your face or company logo on M&Ms

  • How to get the best food shots with a basic digital camera

  • Groups to join if you love food or are a foodie

  • Turn your kitchen into a licensed home bakery Part #1, and Part #2


  • These tutorials are written by me and are original content. These tutorials may not be reproduced without my permission.


    03 April 2008

    How To Make a Simple Proof Box for Your Home 2

    If you have an area that is protected by drafts , where you can create a moist air with steam, then you can create a proof box.

    What you will need:

    • Get a standard shelf. [[Make sure it can fit a deep pan or bowl that you will use to proof your dough.]]
    • Wide sheets of heavy plastic / or tarp. [[Allow the sheet width to accommodate the width and depth of your shelf - so that you can tape the plastic sheet sides together]]
    • Heavy wide tape - such as duct tape or heavy packing tape.
    • Good sharp scissors for removing excess plastic.
    To Create your Proof Box:
    1. With sheets of new / clean, heavy plastic or tarp, Drape a plastic sheet over both the front of the shelf and the back. Gather the top of theses plastic sheets together , centering where the top of the sheets meet above your shelving, allowing it to drape to the length of the shelf, all the way to the floor.
    2. (Remove any excess plastic that is longer than your shelf length, or too wide on the sides.
    3. Using duct tape or heavy packing tape - Create a sleeve of the plastic sheeting with a sealed top, and leave the bottom open(this is where your "steam" will be created) , that you can slide over the shelf when you need to proof something --- by taping the top and side edges together, to form an air tight seal.
    Steam can be created by :

    1. Placing a bowl or pan you can add boiling water from a kettle to, at the bottom.
    2. Put your dough to be proofed on the shelves (on a pan or in bowl), and zipper the cover tight / or slide your newly designed sleeve until it touches the floor snugly . [[If using a store bought green house shelf --- You might want to tape the seams of the zipper, to prevent drafts. ]]
    3. Allow dough to rest for recipes specified proof time.

    If you don't want to DIY (do it yourself):
    **An indoor green house shelf unit (with a zippered plastic cover) that you buy for $20 .00 at Fred Meyers will work. Follow the "steam direction above.

    ***Or use your oven--- put your pan or bowl of dough, covered with a damp cloth, on the center wrack. Add a pan at the bottom and pour boiling water from a kettle into the pan. Proof as the recipe calls for.


    03 April 2005

    Formula : Pate A Choux , Éclairs & Cream Puffs revisited 6

    Well , at first glance most Pate A Choux ,[pronounced pat-e-shoe], formulas generally are of the the same basic structure. In class we had used this formula :

    [#= lb.] {Bad Formula }

    • 1 # water
    • 1 # fresh milk
    • 1 # butter

    We made both éclairs & cream puffs with the same batch. The éclairs were very uneven in texture, with jagged edges, and not at all pleasing to the eye. As were the cream puffs - the oven spring was quite large . Unfortunately both the éclairs & cream puffs had to be browned very dark to achieve a cooked inside. They smelled very much like scrambled eggs.

    Most of you probably wouldn't mind darker pastry, and in some European bakeries that is the standard. Americans are said to "like under baked pastry goods." That being said these were quite dark.

    My instructor wasn't satisfied with the bake off and she even did a batch herself to rule out student error. The results were the same. So she converted a home formulation to production size. The results were beautiful - uniform texture, with a slight crunch, yet soft and wonderful insides. The smells reminiscent of some French haunt. These were a heavenly delight :

    {best formula}

    • 3 Cups water
    • 1 1/2 Cups Butter
    • 3 Cups flour
    • 12 eggs

    Place water and butter in a sauce pan, bring to a rolling boil. Add flour and stir to smooth paste. Continue to cook and stir for a minute or two.

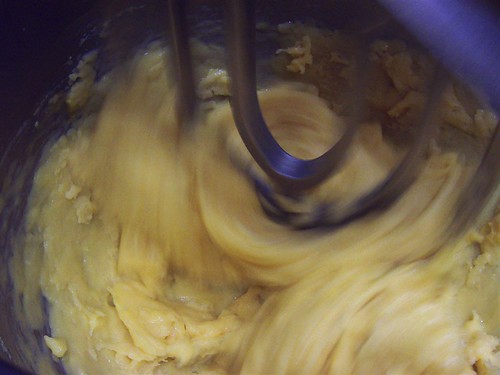
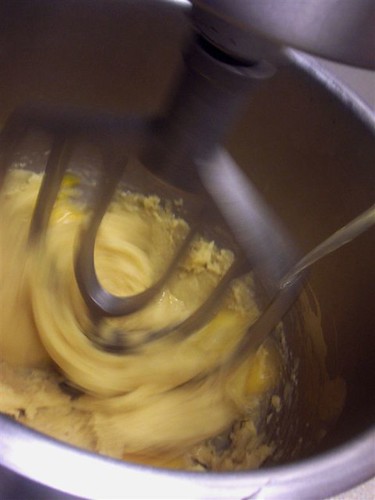
    Place flour mixture in a mixing bowl . Mix on 1st speed. Slowly add eggs and mix until incorporated. Mix on second speed until smooth and glossy.


    Eggs Are added to the flour mixture
    Eggs being added to Eclair batter


    Mix until Incorporated
    eclair Batter

    Pate A Choux mixture smoothing out in 2nd speed
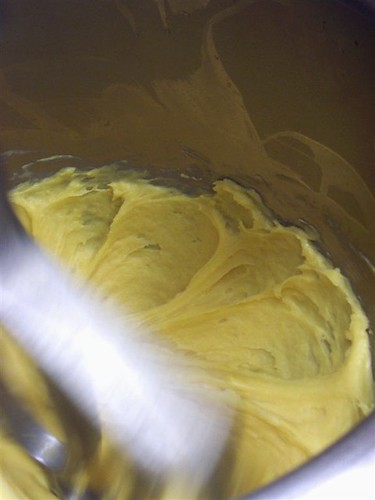
    Eclair batter smoothing out

    Pate A Choux mixture is smooth & glossy - ready to be shaped
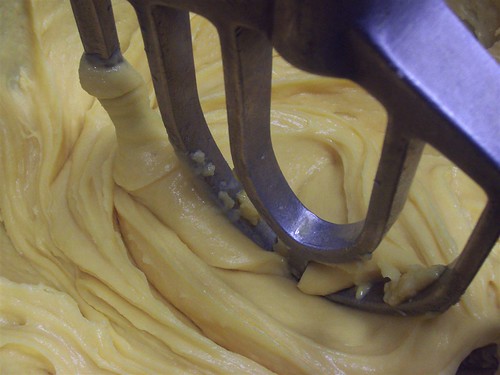
    Ready to be pulled

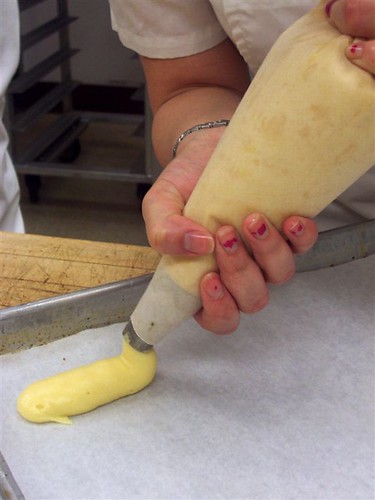
    Pipe with pastry bag or scoop Pate A Choux onto parchment lined pans. Bake at 400° F for about 10 minutes Lower temperature to 350° F and finish baking until done. Shut off oven and allow Pate A Choux to sit in oven until dry.


    Pate A Choux pipe into cream puffs
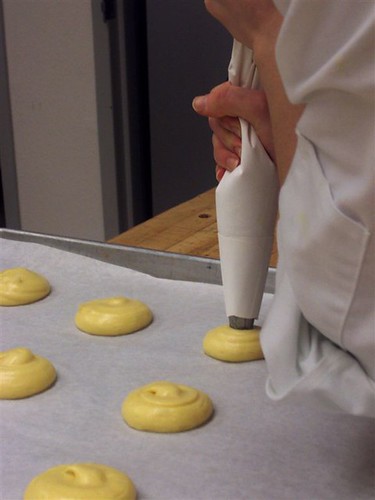
    Eclair batter piped into cream puffs

    Pate A Choux piped into eclair shape
    Piped eclairs

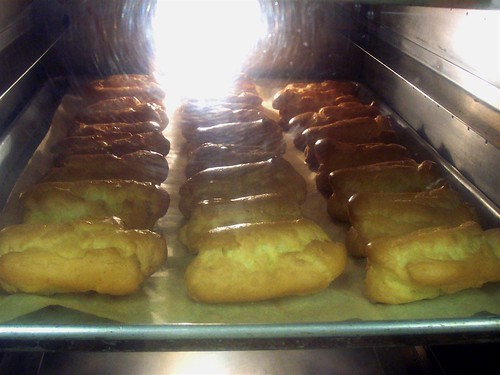
    Eclair bake off
    bake 098

    Eclairs are done when they are light, and can be touched without collapse. Do Not open oven until the eclairs/cream puffs are set ( baked enough not to collapse), or you will not have puffs no longer.
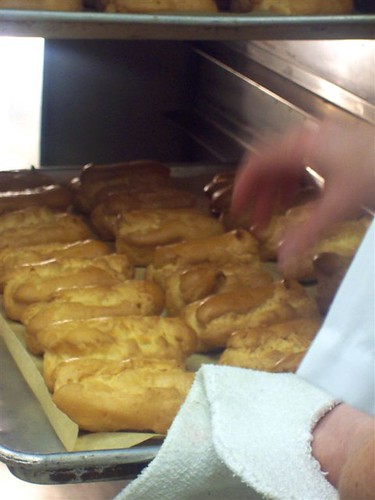
    bake 102

    Once cool and dry, fill éclairs with pastry cream, dip in cooled ganache.

    Éclairs filled with pastry cream, finished with ganache
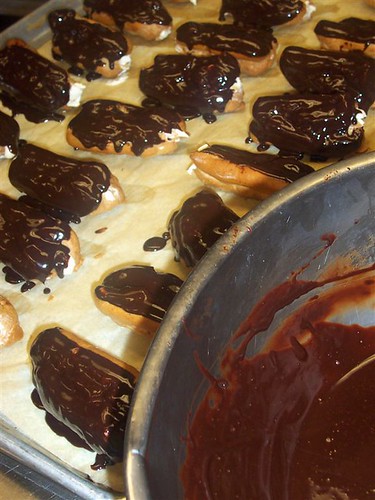
    bake 120


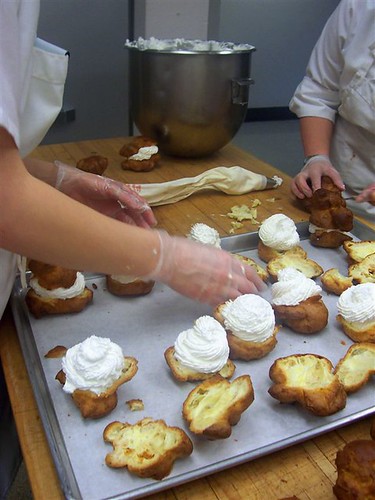
    Cut cooled cream puffs {these were pictures from the 1st formula's batch a.k.a "bad formula"} at an angle. Trim out any webbing formed on inside which prevents insertion of filling. There should be a pocket formed.

    Fill the cream puffs with stabilized whipped cream or other filling. You can use a large pastry tip and fill the pocket, then make a large rosette, put tops back onbake 123

    Finish with a dusting of powdered sugar
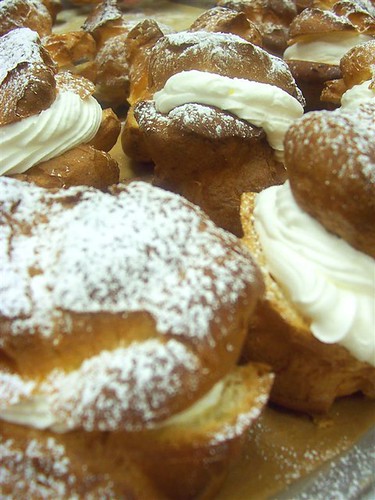
    cream puffs..


    06 February 2005

    Baking Bread: Trouble shooting 0

    holes in bread


    Large holes in bread :
    1. Dough was over kneaded
    2. Dough was proofed too long*

    *For Breads such as French or certain free form loafs , this can be an advantage.

    Doughy or Small, hard lumps:

    1. Original dough was not mixed enough*

    * hold back flour so dough can thoroughly mixed, work in additional dough as you knead

    Bread "Mushroomed" & there is a deep indentation around the bottom:

    1. The entire loaf has broken away from the bottom crust
    2. You tried packing too much dough into too small of a pan

    ++If a free form loaf:

    1. Oven was too hot causing the bottom to cook too quickly
    2. As the loaf rose it broke away and mushroomed [uneven & Denser]

    Free form loaf "spread" too much as it proofed

    1. Dough was too soft**

    * free form loaves must be firm when shaped. Add extra flour as you knead.

    When sliced - top crust "separates" from the rest

    1. Loaf was not properly formed
    2. Heat caused instant aeration when loaf was put in oven.*

    * not serious, alter your methods

    Type-A Parent New York City Bootcamp (Focus: Brand-Blogger Relations)
    Related Posts Plugin for WordPress, Blogger...

    Back to TOP